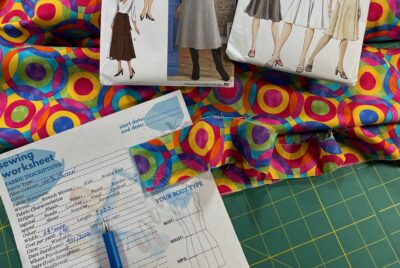
7 Simple Ways to Practice Sewing Straight Line Stitches Straight line stitching How many times have…
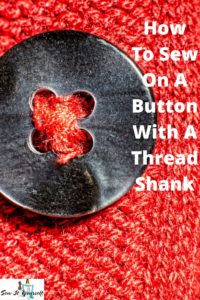
How to Sew on a Button With a Thread Shank
In order to understand how important it is to know how to sew on a button with a thread shank, a little button history is required.
The beginning of buttons
Buttons have been around as far back as the 13th century. According to Britannica, buttons were not used as fasteners until buttonholes were invented around the same time.
By the 14thcentury, anyone wearing buttons made of gold, silver or ivory was an indication of a person’s wealth. Additionally, buttons were attached to the sleeves of garments from the elbow to the wrist and on a bodice from the neckline to the waist.
Can you imagine sewing on a line of buttons from your elbow to your wrist, or a shirt buttoned from your neckline to your waist? That’s about 36 inches worth of buttons combined. That’s a lot of buttons to sew on by hand.
The invention of the zipper and sewing machine has made it easier to apply garment fasteners. However vintage and couture sewing still apply beautiful buttons by hand.
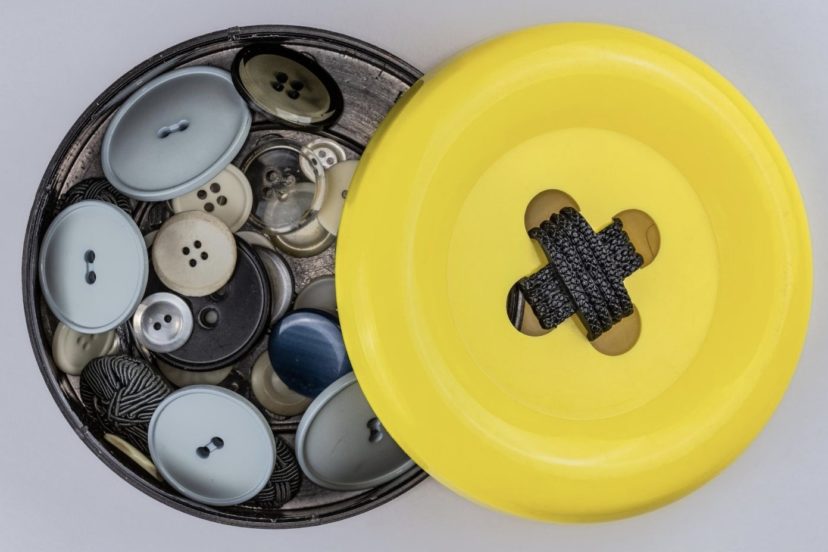
The two types of buttons
Sewing on a button with a shank or a flat button is really very simple. Depending on the thickness of your fabric, even a shank button might need an additional thread shank so the fabrics will lay flat when the garment is buttoned up.
The same basic technique is used whether you are sewing on flat buttons or shank buttons to get professional results.
Buttons are made in two types: flat buttons and shank buttons that have a raised area on the back to attach the button. The buttons you choose should depend on the type of fabric you are attaching the button to. But, if you fall in love with a beautiful button without an existing shank, you can add a thread shank so your button will stay on top of the buttonhole.
The shank buttons are made of molded plastic or a metal loop on the underside of the button. Even though there’s an existing shank, you will still need a thread shank to prevent puckering when the garment is buttoned-up.
Materials and supplies needed
- Self-threading hand needles, assorted sizes.
- Matching or contrasting thread, buttonhole or topstitching thread
- Craft or 5-inch embroidery scissors
- Beeswax keeps the thread from tangling
- Thimble or finger protection pads
- Disappearing, water-soluble ink pen
- Button gauge or toothpick
- Matching or coordinating buttons
How to sew on a button with a thread shank
- The first thing you want to do is thread the needle with matching double thread, buttonhole or topstitching threads about 36” long. Ensure the length of thread ends is equal.
- Pull the thread strands between the slots of the beeswax.
- Mark the right side of the fabric where the button will be placed with the disappearing, water-soluble ink pen.
- Do not tie a knot at the ends of the thread.
- Put the thimble or finger protection on your middle finger of your dominant hand.
- Take a small stitch on the right side of the fabric at the mark you made with the water-soluble pen. Be careful to not pull the end of the thread all the way through.
- Take another stitch through the first stitch leaving a loop on top.
- Insert the needle through the loop, pull the thread tight to secure it on the right side of the fabric.
- Place the button spacer or toothpick between the button and fabric underneath the holes in the button.
- Keeping the spacer in place, bring the needle up through one of the button’s holes, and then down through the second buttonhole and through the fabric layers to the underside.
- Continue sewing the button on by coming up through one hole and back down into another hole until the button is securely in place.
- Remove the spacer and wrap the thread around the excess fabric between the button and fabric about 5 to 10 times to form the thread shank.
- Take a small stitch through the shank leaving a loop of thread to pull the needle through to secure the thread.
- Bring the needle between the fabric layers and push the needle up through the wrong side of the fabric about an inch away from the thread shank.
- Using small scissors or embroidery scissors, cut the thread off. Do not cut the outer fabric.
For more step-by-step instructions, check out the video below:
Final thoughts
Buttons are more than just a way to close an opening in a garment. Sewing on buttons is not just for replacing loose or lost ones. But, the right button can change the overall appearance of an entire outfit. It’s important to know how to sew on a button with a thread shank to prevent fabric puckering and ensure the buttons set up beautifully.
Like this article? Pin It on Pinterest
More to Explore