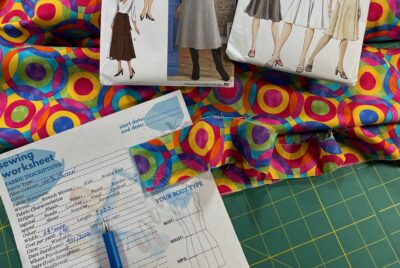
Sewing Plan For Fashion Garments Creating a plan for anything is known to have a multitude…
Sewing Straight Line Stitches
7 Simple Ways to Practice Sewing Straight Line Stitches
Straight line stitching
How many times have you been asked to sew a specific garment for someone who doesn’t know how to sew? You tell them how much it may cost and they tell you it should be much cheaper. After all, all you’re doing is sewing a few straight lines! To them, it looks like a very simple process. You have a sewing machine, right? Then, the only thing you’re doing is placing a couple of layers of fabric underneath that little thing (presser foot) that holds them together and let it sew.
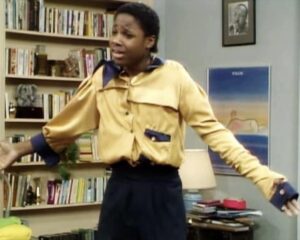
Isn’t that what happened when Theo on The Bill Cosby’s show, wanted an expensive designer shirt and his sister, Denise offered to sew it for him? Remember how that turned out? A total disaster.
Straight line stitching actually requires a lot of coordination and practice. In addition to knowing how to operate a sewing machine so not to stitch your finger, you must use a few tools to get professional-looking straight stitches.
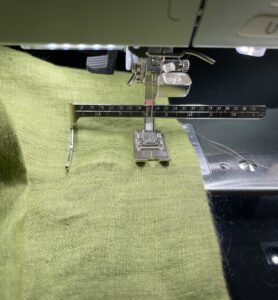
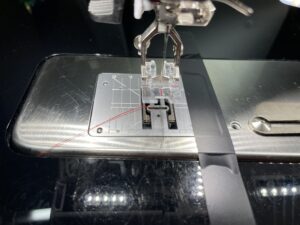
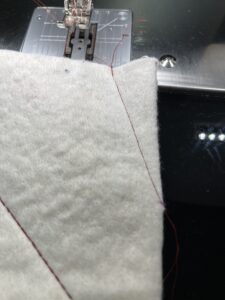
Firstly, the sewing machine throat plate has little lines marked with numbers are your seam guides and represents how wide you want your seams to be. Those line markings are measured in centimeters and inches. You’ll want to place the edge of your fabric along one of these measured lines to stitch the pattern’s recommended seam width. You must manage guiding your fabric on one of those lines as you control the speed of the sewing machine. Then if you pinned your fabric layers together, you’re trying to remove the pins or the clamps before the needle hits it, breaks off and flies up toward your face? At the same time, you’re controlling how fast the sewing is going. You may need a face guard or eye goggles just for your own protection.
It looks so easy to an amateur. But, sewing a straight line denotes quality and professionalism. If your garment is to fit and hang properly on your body, it’s imperative that your connecting seams are sewn straight. That takes practice and a few helpful tools.
There are lots of tools available to you to make it much easier to sew straight lines. Whether you’re sewing a straight seam, top-stitching or edge-stitching, these tools help you sew seams that look professionally sewn instead of homemade.
Check your sewing machine accessory box for tools included. You may find items that look very similar to the ones below that you’ve forgotten about or didn’t know existed provided with your sewing machine.
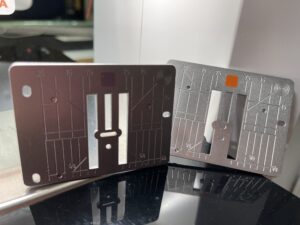 Start by looking for the markings that are provided on the throat plate of your sewing machine. (Explain what a throat plate is) These guides are hard to miss as they’re engraved on either just the right side of the presser foot or on both sides of the throat plate. The markings are in a variety of sizes, from 1/4″ to a full 1″ inch, with the 5/8″ marking being the most commonly used in the home sewing industry. Some machines may have different throat plates to do different things.
This screw-on seam guide, also known as a cloth edge guide may come as an accessory with your sewing machine. It can be adjusted by sliding back and forth next to the marking to get the seam allowance you want. If your machine has a screw hole, you may find this a very helpful tool that can be purchased at your local sewing store or online at Amazon. Just click here for a cloth edge guide.
 The magnetic seam stitch guide sticks to the throat plate of the sewing machine next to the seam allowance you want. If it’s not included as one of your machine accessories, it’s widely available at sewing supply stores like Joann’s, Michael’s and Hobby Lobby as well as Amazon. Since more and more of the newer sewing machines are computerized, most users prefer to use the magnetic seam guides on their vintage sewing machines.
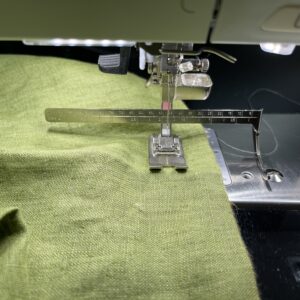
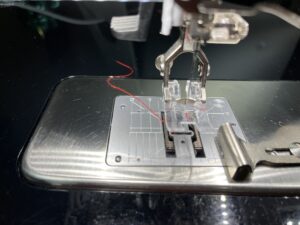
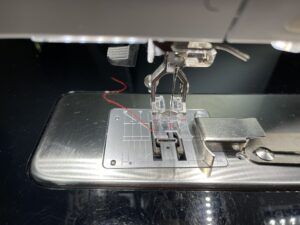
Another useful tool when you fabric extends past the guides on the throat plate, magnetic seam guide or screw in, is the a small rod like tool that is attached to the back of the presser foot or walking foot. It is attached to the presser foot with a screw on the back. This seam guide can be placed to the right or to the left of the needle. So it doesn’t matter which side you need to sew on. It’s especially great for sewing parallel rows of stitching equally spaced apart.
 I
I
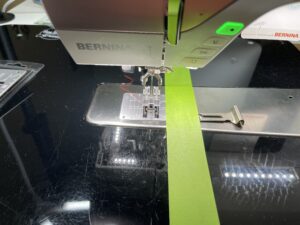
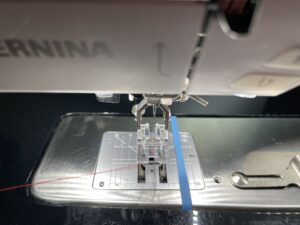
A few quick and simple ways to extend the measurements on your throat plate is to add a piece of colorful non-residual painter’s tape, masking tape, black electrical tape or thick rubber bands. This will help you start guiding your fabric much farther away from the throat plate to get the seam allowance you need.


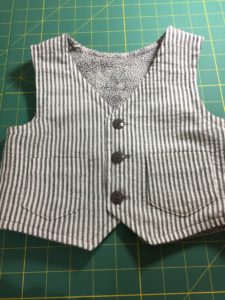
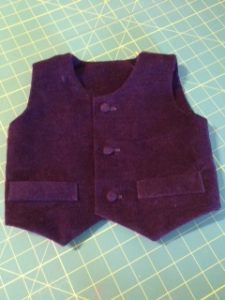
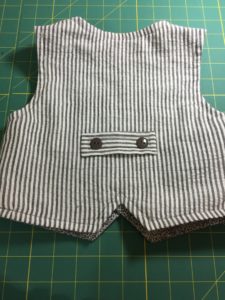
This is a good time to practice sewing straight stitches. Just straight stitches, nothing else. There are so many projects you can sew to practice sewing straight lines that doesn’t require a lot of thought at all. Just a few are shown below, but don’t forget wearable samples of simple children’s vests, straight a-line skirts or pairs of pajama pants.
Sewing Straight Stitched Gifts
Practice sewing straight stitches while making gifts for family and friends. Gifts like aprons, pillows, potholders, tote bags, bowl cozy’s or koozies and fun hats are a good place to start.
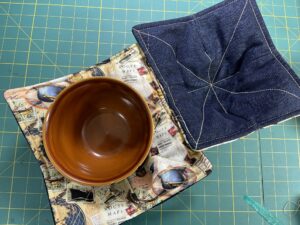


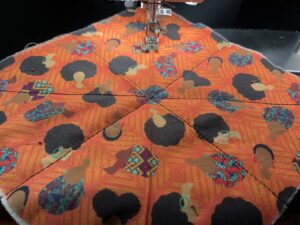
Sewing bowl koozies has been the rave for a few years now, not strictly because of the straight stitching but simply because they make great gifts anytime of the year. They offer you the opportunity to practice top-stitching and edge-stitching, while at the same time a very nice gift.
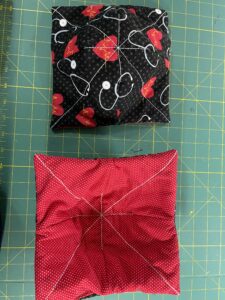
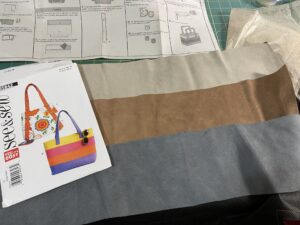
As noted above, one way to practice sewing straight stitches is to make bowl koozies, and a great tutorial is linked below to get you started:
Straight Stitching Bowl Koozie
Consider making a few changes as they are not specified in the video.
- increase fabric squares to 11″x11″ or 12″x12″ instead of 10″x10″
- use Pellon’s Wrap & Zap; purchased from Joann’s with a 40% or 50% coupon
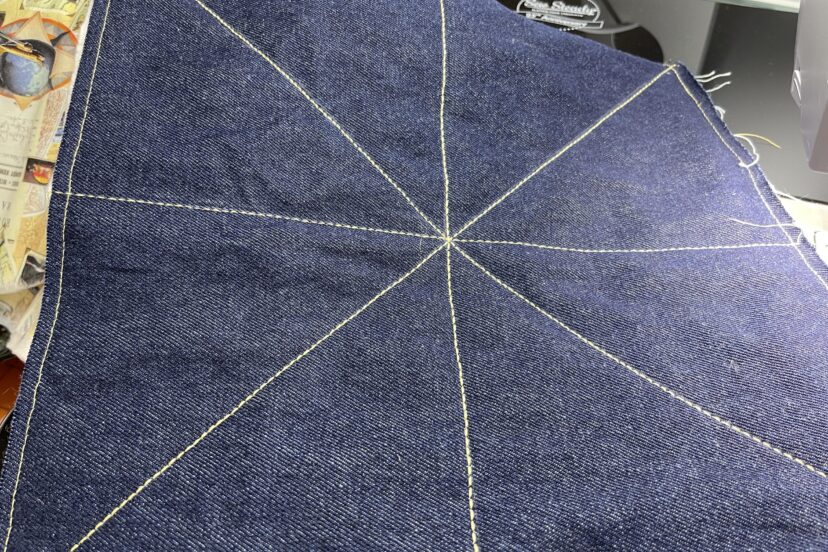
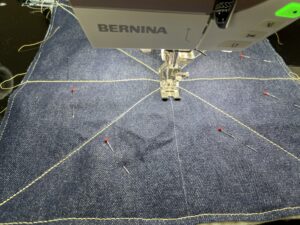
- use the triple-stitch setting to sew the quilting lines to standout more
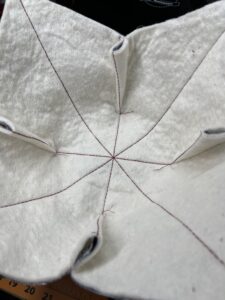
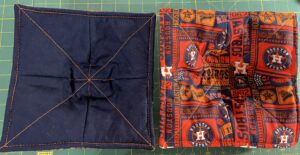
- make darts 1″ wide, 3″ long
- trim batting around dart close to the stitching line on each side of the dart; press dart open; match seams when putting layers together
- back-stitch at the beginning and end of opening to turn inside out
- trim batting close to stitches and clip corners before turning
- turn on the right side, press and use the triple-stitch method to top-stitch along the outside edge catching the opening
In summary, once you familiarize yourself and practice using some of simple tricks and tools discussed, you’ll be showing off your straight line stitches in professional-looking garment you made yourself.
More to Explore