7 Simple Ways to Practice Sewing Straight Line Stitches Straight line stitching How many times have…
How to Sew a Simple Silk Scarf
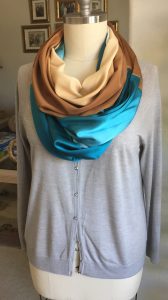
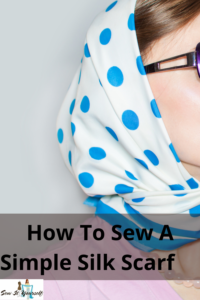
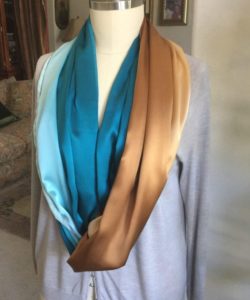 Learning how to sew a simple silk scarf can not only add a beautiful, eye-catching accessory to your wardrobe, but can help you build and develop your sewing skills. If you are just starting out and don’t know where to start, consider something really simple that only requires straight lines. This gives you an opportunity to practice all of the same skills required in sewing your own clothes and any outfit that’s considered a bit more challenging for a beginner.
The steps below outline the skills you will learn and practice.
1). Straightening your fabric ends
2). Cutting on the thread line
3). Pressing on delicate fibers
4). Setting up your sewing machine
5). Changing out the needle
6). Winding your bobbin
7). Stitching straight seams (French seams)
8). Trimming seams
9). Pressing seams open
10). Finishing the edges
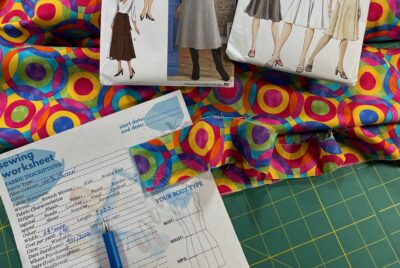
The tools you’ll need to sew a simple silk scarf:
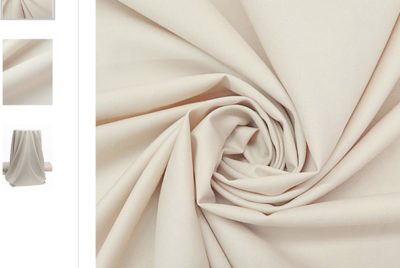
Fashion Fabric for Scarf – 1 1/2 yards of any width fabric
Size of scarf: 23 x 106
Fabric Shears to cut and straightened the fabric
Sewing Machine with 5.5 millimeter throat plate
Embroidery Foot for Sewing Machine
Sewing Machine Needles Sharp Microtex Size 10
Bobbin filled with matching thread
Iron setting on Silk or Wool
Like this article? Pin It on Pinterest
Here’s the video I created that shows you how to sew a beautiful, simple silk charmeuse scarf.
More to Explore